
1. Create a workspace
These six steps are for the person rolling UTSUROI out to a team (an admin). If you were invited, read If you were just invited instead.
What a workspace is
Section titled “What a workspace is”The workspace is the outermost container. One per organization or team.
Workspace└─ Board (a project / team / area) └─ Lane (TODO / DOING / DONE + your own stages) └─ Task (can have subtasks)Creating it
Section titled “Creating it”Open the sign-up page, register, and follow the verification link in your email to reach the workspace creation screen. If you already have an account, sign in.
- For a team, enter a name under Shared workspace. This example uses
Northstar Studio. - Select Create and get started.
- When creation finishes, Home opens with a default board ready to use.
To try it on your own, choose Start a personal workspace instead.
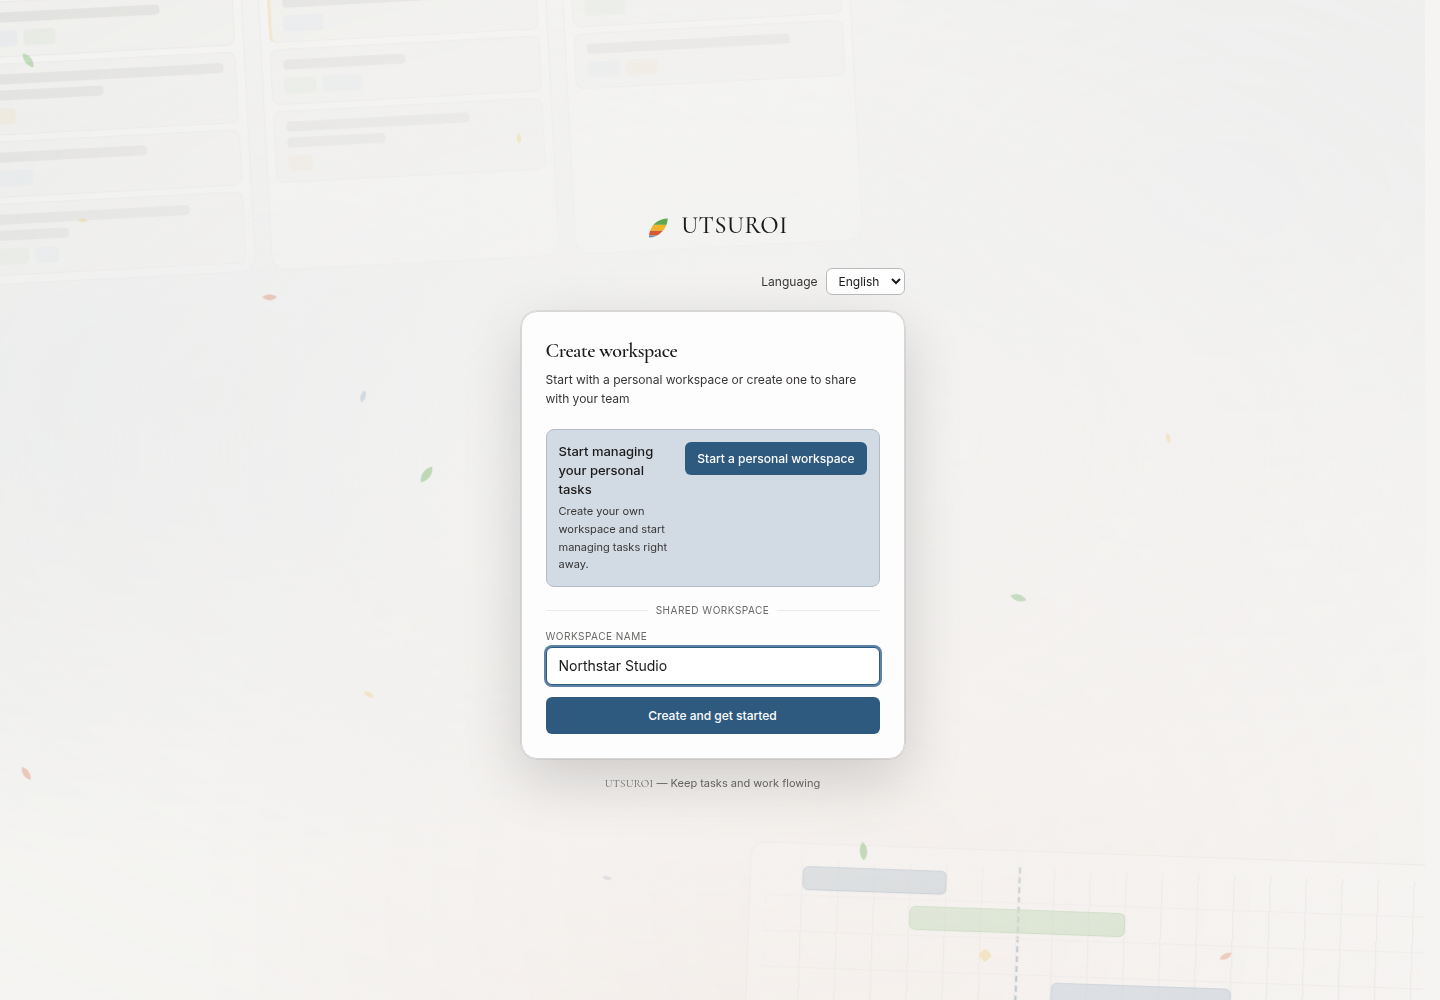
The following examples use this sample workspace to prepare a help center launch.
Check these first
Section titled “Check these first”Billing plan
Section titled “Billing plan”Settings → Billing shows your current plan. The Free plan has member and board limits. If you are over the limit when it switches, the whole workspace becomes read-only — so look at this before adding people.
Only owners and admins can manage the plan.
Your account settings
Section titled “Your account settings”Separate from workspace settings, there are account settings — yours, shared across every workspace.
- Profile (global display name)
- API tokens
- Appearance
This is also where you issue API tokens.